Advertisement
How To Apply Concealer Like A Pro: 6 Easy Steps, From Makeup Artists

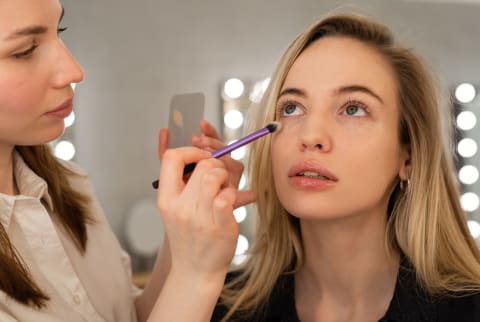
Concealer is truly the workhorse of any makeup bag. With just a few strokes, you can mask blemishes, soften fine lines, brighten dark circles, and even make your orbs appear larger and wide-awake. Not a bad résumé for a single product!
Big, big caveat: Applying concealer takes some strategy. You can't wildly swipe on globs of product and expect it to magically erase your dark circles, fine lines, and breakouts.
Concealer can be transformative, yes, but it also has the ability to backfire—without the right plan of action, it can bring even more attention to exactly what you're trying to disguise.
Concealer application has a bit of a learning curve, but that's where we come in: Ahead, find our step-by-step guide to using concealer like a pro.
Prep the skin
Ask any makeup artist, and they'll tell you: Start with a fresh, prepped canvas. A good makeup routine always begins with skin care, so make sure you have your regimen in order before grabbing the makeup bag. (Also be sure to let your skin care fully dry down before you start your makeup routine; otherwise, it can lead to pilling.)
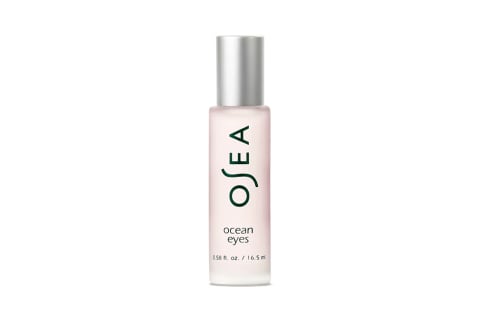
"I like to make sure that the skin under the eyes is well moisturized so that it's nice and plump," says makeup artist Jenny Patinkin. "This will enable a small amount of concealer to glide over the area for smooth, even coverage." Spend some extra time (gently!) dabbing in a moisturizer or eye cream, opt for a cooling eye serum for extra de-puffing, or if you have time, apply an eye patch for a surge of hydration.
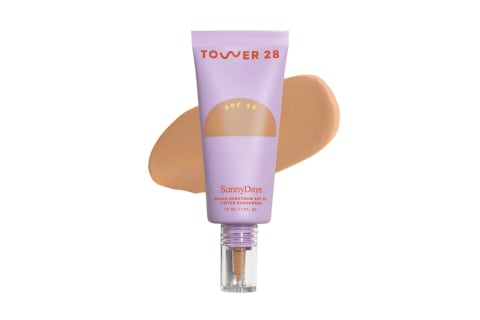
When it comes to concealing blemishes, still, you'll want to add an extra foundation step (if you choose to use one). Foundation generally goes before concealer, as the base creates an even canvas. "I like to apply foundation underneath the concealer as both a color-correcting primer and a textural barrier. It helps to stop the concealer from gripping onto the blemish in a very obvious way," Patinkin adds.
Choose your formula
For those who have yet to find their go-to pot or tube, there's a lot to consider. See, different formulas have different perks, depending on the look you're gunning for.
For example, some concealers contain brightening ingredients (like caffeine or vitamin C) to banish dark circles, while others feature hydrating players to plump the area (like hyaluronic acid or panthenol). Others contain anti-inflammatory agents (like chamomile) to simultaneously tend to blemishes.
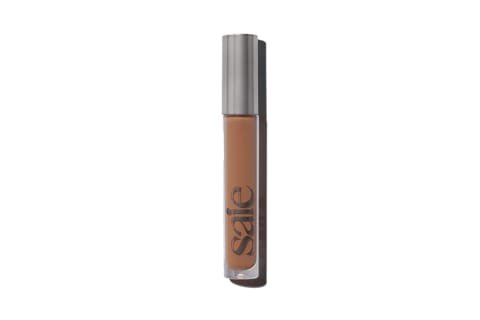
Of course, the finish can vary, too: Some prefer a creamy, dewy payoff, while others are looking for a heavily pigmented, full-coverage focus. "For most people who need to cover blemishes, a thicker pan or stick concealer will give fuller coverage," Patinkin shares. You can find every type of formula in our concealer roundup.
Choose your shade
And then there's finding your best shade—an entirely different beast to tackle. "In a perfect world, concealer for under the eyes should be about one half to one shade lighter than your foundation, but if you have dark shadows that need to be color corrected, you have to factor that into your product selection," notes Patinkin.
In those cases, you might want to layer a peach- or orange-toned color corrector underneath your concealer du jour. "Think very light peach for lighter skin tones moving into a more orange/peach tone for darker skin tones," she adds.
Rather than swatching on the inside of your wrist, Patinkin recommends applying right on the under-eyes, if you can. "Try to swatch your concealer under your eyes, then hold a mirror over your head, up to the lights or the sky. This will show you what the color looks like without any shadows on your face and with an even distribution of reflective light," she says.
As for blemishes, you'll want to use a true shade match—or ideally even a half to one shade darker than your foundation. "If your concealer is too light, it will give the optical illusion that your pimple is protruding very far from the skin, whereas if it's a little darker, it'll give the illusion that it's flush with your skin," Patinkin shares. As a general makeup rule: Lighter shades bring forth an area, while darker shades help recede it.
Choose your applicator
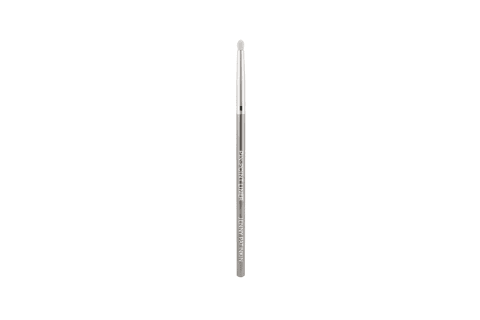
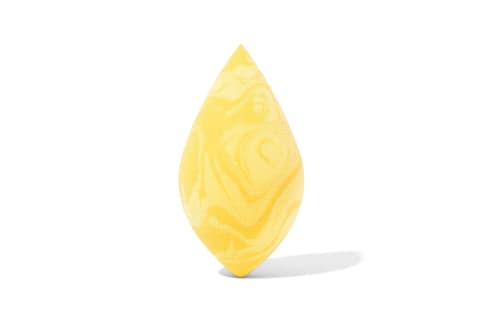
Now, your applicator can help secure a super-precise result—and when it comes to using concealer, a "less is more" mindset is the name of the game. If you're concealing blemishes, you might want to use a tiny liner brush to dab just the right amount of product onto the spot. For under-eyes, you might find a damp beauty sponge helpful to evenly distribute the product for a dewy, seamless finish.
For those with an affinity for fingerpainting, yes, you can use your fingertips to work the product into the skin—in fact, the body heat from your fingers warms up the formula and makes for an even smoother application. Just make sure your fingers are clean before you dab on the concealer, especially if you're applying it on blemishes—you don't want to introduce even more oil and bacteria to the clogged pore, do you?
On that note, "I don't like to use a doe foot to cover pimples because if you get any bacteria on the applicator, you're just mixing it in with the rest of the product in the tube," Patinkin says. Best to swipe the doe foot on your hand and use a brush, sponge, or your fingers to dab on the product.
Apply
Finally, you're ready to apply: Depending on the look you want, you might fare well with a few different methods. The good news? We have guides for them all.
To nix dark circles
"Apply concealer only where you need it, and then blend it all in so that it fades naturally into the rest of your makeup or complexion," Patinkin previously shared with mbg. "It will make your skin tone look odd if you apply it on skin that doesn't need to be corrected."
Dot on the concealer with precision rather than broad swipes, covering most (but not all) of the discolored area. Patinkin recommends letting it sit for a moment so the formula can oxidize, then dampen a small beauty sponge and bounce it on the skin to blend.
To diffuse fine lines
A "less is more" mentality is all you need. See, when you apply layer after layer of concealer, the product can easily sink into fine lines and exacerbate their appearance. Rather, makeup artist Jaleesa Jaikaran recommends spot concealing: Place little dots of product on the eyelids, inner corner of the eyes, and any other areas you'd like to cover up.
"Use a tiny amount of concealer on a small fluffy brush and lightly buff these areas," Jaikaran once shared with mbg. You can apply more dots if you need, but remember to buff it gently between each layer. That way, the product fades into the skin quite nicely without separating.
And again, when it comes to concealing fine lines, selecting a formula is half the battle. "Choose concealers that are lightweight as opposed to thick and creamy," Jaikaran advises. "These enhance creasing and can create buildup on the face." See here for her full tutorial.
For lift
Yes, you can use concealer to sculpt your face. By concealing certain shadows, you can literally lift your face a few inches. Beauty influencer Ava Lee calls it the "six-point concealer trick," and it's quite transformative:
- First, sweep the concealer on the inner corner of your eye with a downward slant toward the apple of your cheek.
- Next, apply on the outer corner slanted upward toward the corner of your brow.
- Then take your concealer from the end of your nostril and slant it downward toward the corner of your mouth.
- From there, sweep from the corner of the mouth upward, toward your cheekbone.
- Then apply along the hollow of your cheek in an upward slant. (Think the bottom, not the top, of the cheekbone.)
- Finally, dab a bit of concealer right under your eyes.
Find the full tutorial here.
For blemishes
Covering up breakouts can be tricky: When you load concealer onto a raised mound, it can wind up looking caky. The key is to use as minimal product as possible, dabbing just a small bit on top of the zit and letting it set so the formula can thicken up and stay put.
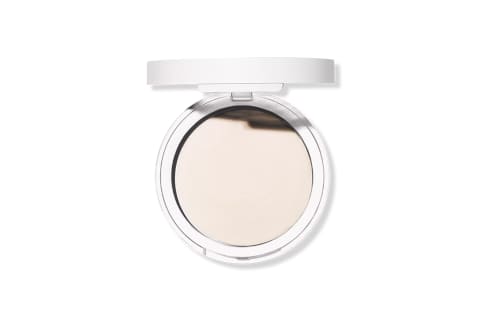
After a couple of minutes, tap gently to blend, then follow up with a loose setting powder directly on the area. Not only are you setting the look for all-day wear (more on that in a moment!), but by burying the spot with powder, you're absorbing excess shine and blurring the area so you're less likely to see the raised mound.
Find the full blemish-concealing tutorial here.
To disguise eye bags
Remember when we said choosing a concealer is half the battle? Well, sometimes you may even need to double up on product, especially when it comes to concealing under-eye bags. According to celebrity makeup artist Mary Irwin, you'll want to choose two shades (one lighter, one richer) to basically "contour" your under-eye bags.
"Think about how you contour your face—you emphasize light and dark and create a shadow and a highlight. You can do the same thing under your eyes!" she tells mbg about concealing under-eyes. First, choose a darker shade of concealer to use on the actual eye bag. Apply directly on the swollen skin and blend. Next, use a lighter concealer underneath the bag to add some depth. "It's a visual trick that contours the under-eye," Irwin says.
We repeat: Lighter shades bring forth an area, and darker shades recede it. So using a light, bouncy number right underneath a puffy area can lift the surrounding skin, while a richer hue directly on top of the bag can help recede any ballooned creases.
Set
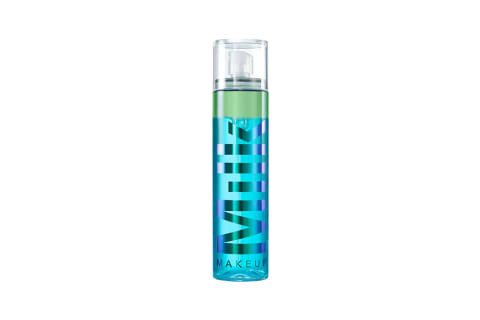
If you want your concealer to have the most staying power, a setting spray or powder is nonnegotiable. Mists can be especially helpful, as they can not only help preserve your base makeup but also keep your skin hydrated—which is great for fending off dry, caky under-eyes. Powders, on the other hand, can help absorb that excess oil and shine, which can further mask a pimple.
For blemishes, Patinkin likes to layer both setting spray and powder (an overachiever!), spritzing before and after applying concealer and finishing off with the tiniest bit of powder. "And I know it's controversial, but I don't like to use anything to set under-eye concealer. Powder can make thinning or 'lived-in' skin look very dry, and I would rather look hydrated and a little creasy than dry and puckered," she notes. Fair point.
If you do want to set your under-eyes, you can always apply some loose powder with the edge of a beauty sponge. Use a press-and-roll motion to really stamp in the product and secure the base.
The takeaway
Makeup has no rules, but concealer application does take some strategy. Rather than globbing on product (and winding up with caky under-eyes), use these makeup artist tips to conceal your skin concerns with precision. Once you have an even base, you should be all set for contour and blush. Don't worry; we have guides for those, too.
